This guide will walk you through the proper steps of draining your swimming pool to ensure that you do it safely and efficiently. Whether you’re preparing for maintenance, repairs, or closing the pool for the season, knowing the right techniques can prevent damage. You’ll learn crucial tips on equipment use, water disposal regulations, and the best practices for maintaining your pool’s integrity during the draining process. By following these guidelines, you can confidently handle your pool draining project and avoid common pitfalls.
Preparing Your Pool for Draining
Preparation sets the stage for a successful draining process. Start by confirming that draining is necessary, considering factors like water clarity and the need for maintenance. Next, you should plan the project during a dry, warm period to minimize disruptions and ensure a smoother experience.
Assessing Pool Conditions
Before draining, evaluate your pool’s condition closely. Check for any structural issues, such as cracks or leaks, that could worsen during the draining process. Inspect the pool surface for algae or debris, as these can affect water quality when refilled. Addressing these concerns ahead of time prevents complications later.
Gathering Essential Tools and Materials
Having the right tools and materials ready streamlines the draining process. Essential items include a submersible pump, garden hose, and a drainage bucket. You’ll also need a skimmer net for debris removal, and optional items such as a wet/dry vacuum can come in handy for any residual water.
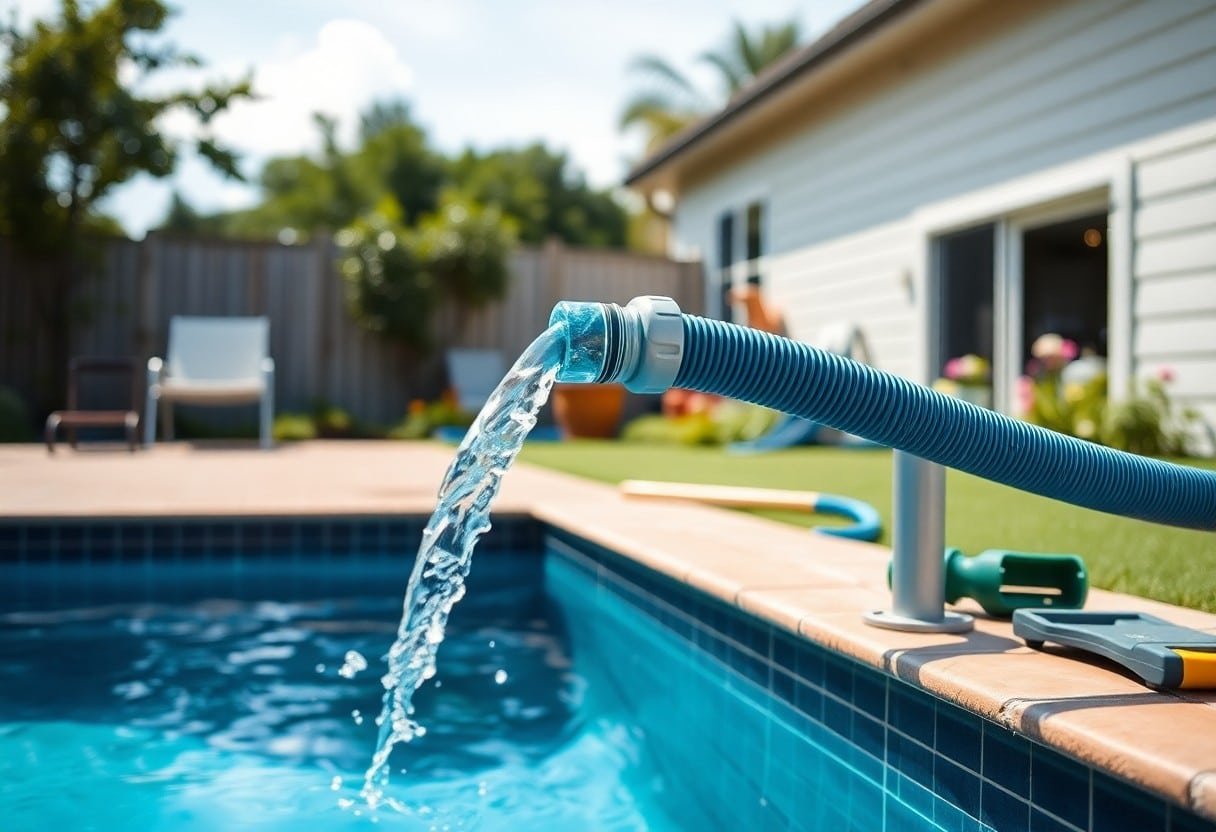
Gathering tools not only speeds up the process but also enhances safety. Ensure you have a submersible pump with a long enough cord to reach your power supply, typically at least 25 feet. A garden hose that can accommodate the pump’s discharge is vital, and opting for high-quality hoses can prevent wear and leaks. Additionally, keep a skimmer net on hand to clear any floating debris that could create a mess as the water level drops. Being fully equipped allows you to focus on the task at hand without interruptions.

Choosing the Right Draining Method
Selecting the appropriate draining method for your swimming pool can significantly impact both the efficiency of the process and the environment. Consider factors such as the pool’s size, the surrounding landscape, and local regulations that may dictate how you dispose of pool water. Each method comes with its pros and cons, so weigh them carefully based on your specific situation to ensure a successful drain.
Gravity vs. Pump Draining
Gravity draining involves letting the water flow out of your pool naturally through a hose positioned at a lower elevation. It’s a low-cost and energy-efficient option but can take time to complete, especially for larger pools. On the other hand, pump draining utilizes a submersible pump to expedite the process, allowing you to drain the pool quickly without waiting for gravity to take its course. This method is ideal for those who need immediate results, though it can be more expensive due to energy costs.
Eco-Friendly Disposal Options
Disposing of your pool water responsibly is necessary, especially to protect local water sources. Using eco-friendly methods—like directing the water to your garden or landscaping—can nourish plants without harming the environment. Additionally, check with local authorities to find out if you can connect to sewer systems or designated drainage areas that welcome pool water. Proper disposal not only prevents potential contamination but also contributes to environmental sustainability.
Utilizing eco-friendly disposal options can also help you minimize any adverse effects on local ecosystems. For instance, if your pool water contains chemicals, consider neutralizing these substances before letting it flow into your garden. Using natural, less harsh pool chemicals can make this process easier, ensuring that no harmful substances are introduced into the soil or water systems. Always consult with local regulations regarding pool water discharge to ensure compliance while adopting environmentally-friendly practices.

The Step-by-Step Draining Process
| Step | Description |
|---|---|
| 1. Prepare the Area | Clear any obstructions around your pool and ensure a safe drainage path for the water. |
| 2. Select a Pump | Choose the appropriate pump, such as submersible or sump pump, based on your pool’s size. |
| 3. Set Up the Hose | Attach a hose to the pump and place the other end in an appropriate drainage area. |
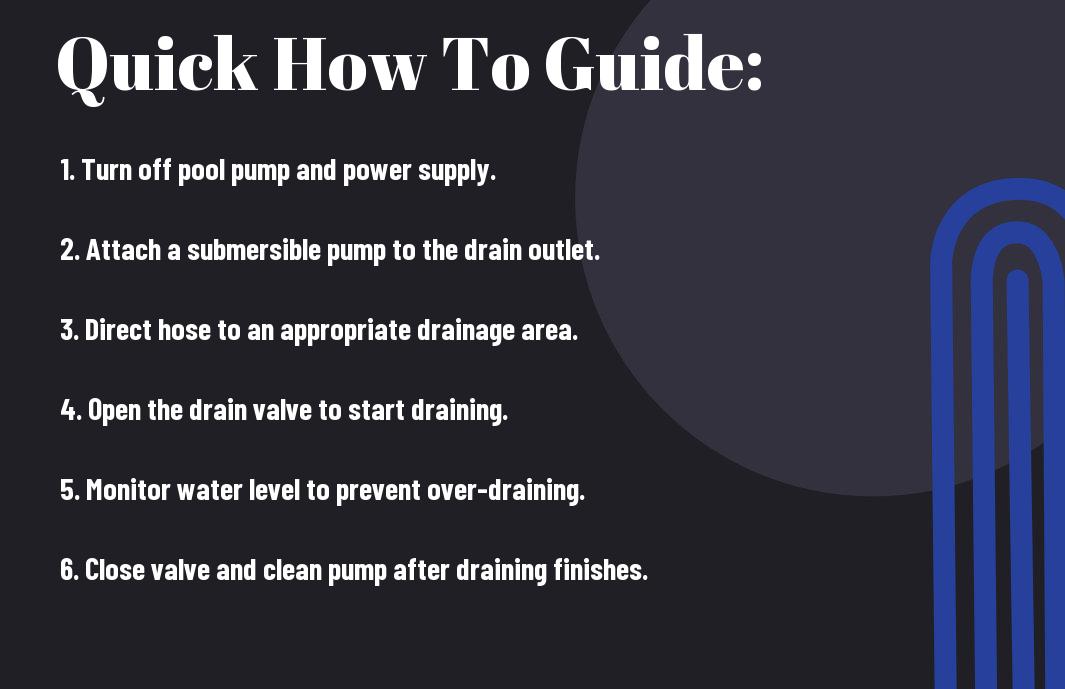
| 4. Start the Pump | Turn on the pump and allow it to begin draining the pool water. |
| 5. Monitor the Process | Keep an eye on the drainage to avoid any blockages or overflow. |
Executing a Safe Drain
To ensure a safe drain, always check local regulations regarding pool water disposal. Avoid draining water onto your property or neighboring areas that may create flooding. Ideally, divert the water to a rain garden or designated stormwater drain. Additionally, be cautious of underground utilities when deciding where to direct the drained water.
Monitoring Pool Draining Progress
As the pool drains, you should keep track of the water level and the speed of the draining process. Frequent checks help identify any potential issues like the pump losing suction or the hose becoming kinked. Watching closely also allows you to prepare for any necessary adjustments promptly.
Adjust your approach based on how your pool drains. If you notice the water draining too quickly, consider manually slowing the pump flow. Depending on the pool’s size, this can help prevent structural damage, such as settling or shifting due to rapid water loss. On average, a typical residential swimming pool takes anywhere from 4 to 12 hours to fully drain, so timing your checks accordingly can save you from unpleasant surprises.
Post-Drainage Cleanup and Maintenance
Once the pool is fully drained, the next step involves thorough cleanup and maintenance to prepare it for future use. This process not only ensures your pool remains in excellent condition but also extends its lifespan. Pay attention to any debris or algae residue left behind, and take proactive measures to protect your pool’s surface and equipment.
Inspecting Pool Surfaces and Equipment
With the water gone, inspecting the surfaces of your pool becomes much easier. Look for any cracks, chips, or discoloration that may need repair. This is also an ideal time to check components such as pool drains, skimmers, and lights for damage and functionality, ensuring everything remains in good working order.
Essential Cleaning Routines
Cleaning your pool after draining involves more than just a quick sweep. Use a pool brush to scrub down the walls and floor, targeting any stubborn stains or debris. Utilizing a high-powered vacuum can also aid in removing fine dirt particles and residual algae. A thorough wipe-down of the waterline tiles and fittings makes significant difference in prevention of future buildup as well.
Implementing these important cleaning routines sets the foundation for maintaining a pristine swimming environment. Make it a habit to clean the pool surfaces thoroughly at least once a month, as well as conducting a routine check after heavy usage or storms to keep your pool in tip-top shape. Regular brushing and vacuuming will help prevent algae growth and minimize the buildup of grime, ultimately saving you time and effort during your next seasonal opening. Also, consider using non-abrasive cleaners specifically designed for pool surfaces to preserve their finish.

Unexpected Challenges and Solutions
During the draining process, you might encounter various unexpected challenges that could delay your progress or complicate your tasks. By being prepared with solutions and preventive measures, you can typically navigate those issues without much hassle. Common challenges involve persistent debris, algae growth, and drainage system blockages, each requiring specific strategies to resolve efficiently.
Dealing with Stubborn Debris or Algae
Stubborn debris or algae can cling to your pool’s surfaces and create headaches when draining. A multi-step approach works best: brush down all surfaces before draining and treat the pool with an algaecide to prevent growth from reoccurring during the process. If algae persists, consider using a pool vacuum or a specialized algae brush to tackle those tough spots effectively.
Addressing Drainage System Blockages
Blockages in the drainage system can halt the draining process and require prompt action to clear. Inspect the hoses and lines to identify any kinks or clogs that may be obstructing flow. Use a plumbing snake or high-pressure water to dislodge any blockage within the pipes. In more severe cases, you may need to remove fittings or access the drainage line directly, ensuring that you’ll restore proper water flow before resuming the draining process.
When addressing those blockages, start by turning off the power to your pool’s filtration system. Clear the area around the skimmers and pumps, ensuring no leaves or other debris restrict water flow. If previous attempts fail, consider enlisting a professional to assess hidden plumbing issues. Investing in a good filtration system maintenance routine can prevent future clogs, ensuring smooth operations during future pool maintenance tasks.
To wrap up
Drawing together the crucial steps to drain your swimming pool properly ensures both the longevity of your pool and the surrounding environment. By following the correct methods and safety measures, you can effectively manage the draining process with minimal risk to your pool structure and landscaping. Always double-check local regulations regarding water disposal and consider consulting a professional if you’re uncertain about the best course of action. By being diligent and informed, you can maintain your pool in top condition for years to come.
